
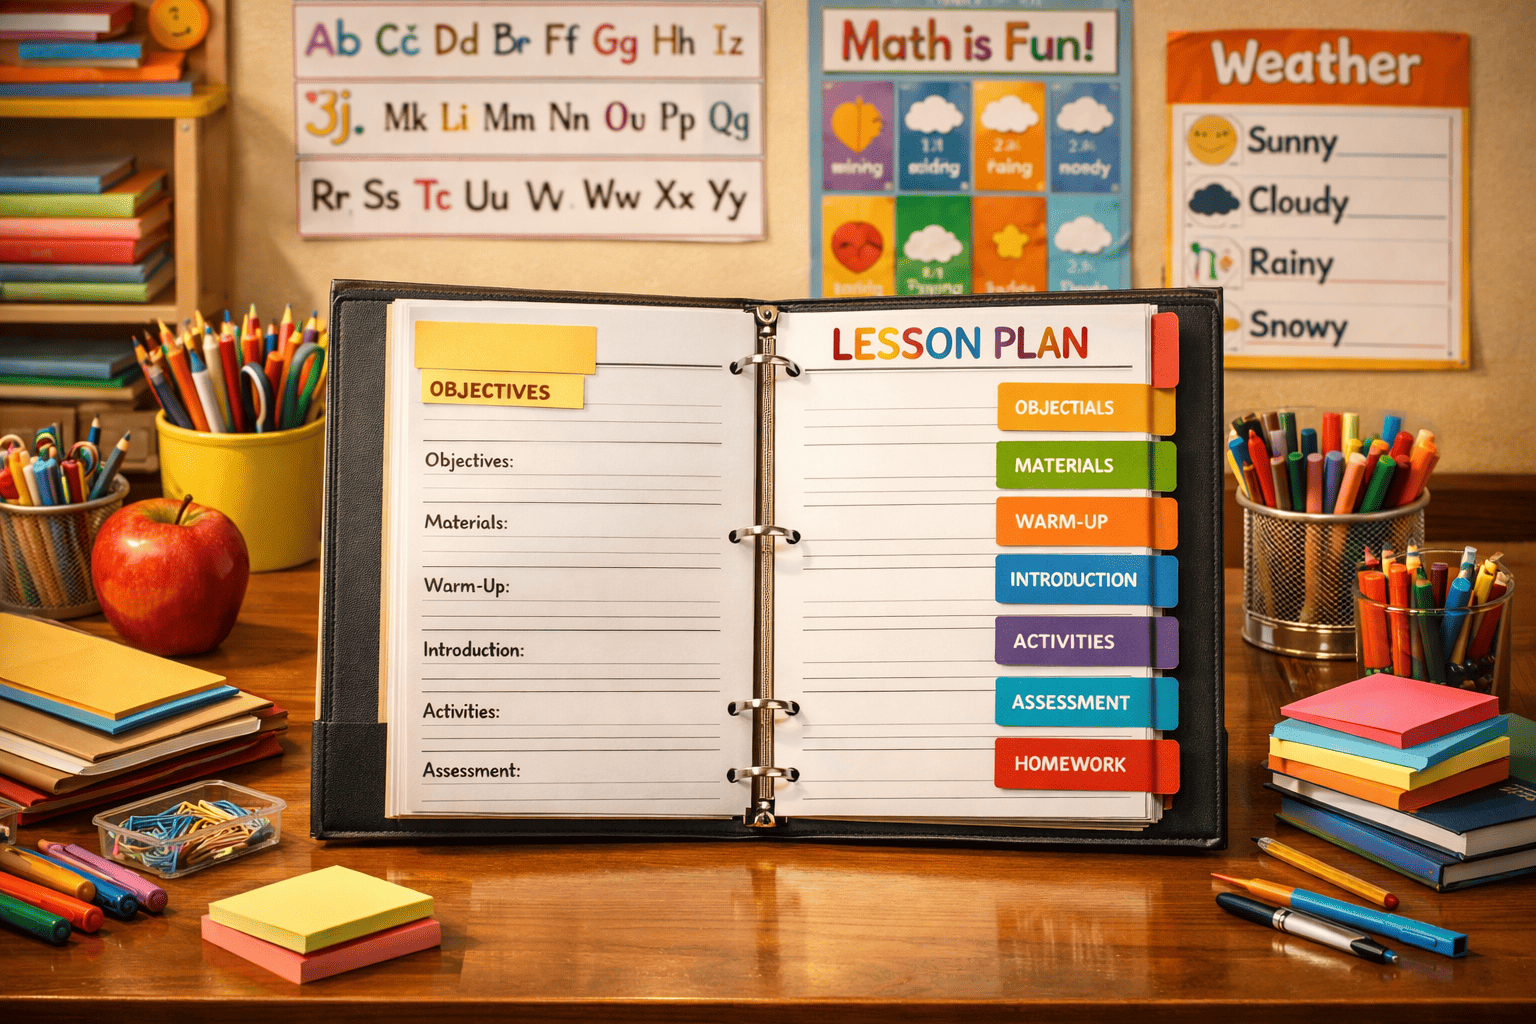
For an educator, stepping into a classroom without a strict lesson plan outline is like navigating a complex maze without a map—it quickly leads to lost instructional time, pacing issues, and frustrated students.
A lesson plan outline isn’t an exhausting script of every word you intend to say; it is a tactical roadmap. By separating the act of curating knowledge from the act of delivering it, you ensure your instructional materials are structured for maximum cognitive retention.
Depending on your student demographic and subject matter, here is a flexible, industry-standard 5-step framework designed to keep your teaching organized, balanced, and highly scannable.
The 5-Step Instructional Scaffolding
This framework follows the "I Do, We Do, You Do" progressive learning model, a psychological journey that transitions students from passive observers into independent masters of a concept.
Why Planning Matters
Think of a lesson plan as a roadmap for an unfamiliar journey. You wouldn’t drive to a new destination without consulting a map, and you shouldn’t help students learn difficult concepts without constructing a lesson plan.
Planning matters because classrooms are complex environments. Teaching takes place under conditions of multidimensionality (many events happening at once), simultaneity (they happen at the same time), and unpredictability (we can never be sure what will happen next). A good plan doesn’t eliminate the need to think on your feet, but it provides structure that helps mitigate potential chaos.
Lesson planning also:
- Prevents behavioral issues — Students often misbehave when bored or overwhelmed; good planning addresses both
- Saves future time — Notes on what worked (and what didn’t) improve lessons year after year
- Supports substitute teachers — A clear plan lets someone else step in seamlessly
1. The Anticipatory Set (The Hook)
Your lesson should never start with dry logistics like "Open your books to page 42." Instead, spend the first 3 to 5 minutes capturing your students’ focus.
Effective hooks include:
- A provocative question or surprising statistic
- A quick quiz or entry ticket
- A thought-provoking image or video
- "Three truths and a lie" about the previous lesson
This opening moment signals to the brain: Pay attention
- The Action: Present a riddle, an anomalous data point, or a brief real-world problem that directly connects to the upcoming topic.
- The Objective: Explicitly state the learning target using student-friendly language (e.g., "By the end of today, you will be able to extract values from a database using simple SQL commands").
Strong learning objectives are:
- Specific — Clear about what skills students are learning
- Measurable — Observable and assessable within the teaching time frame
- Achievable — Realistic given student ability and lesson time
- Relevant — Connected to curriculum standards and broader course goals
- Time-bound — Feasible within the lesson duration
Pro Tip: Write objectives from the learner’s perspective using verbs like define, classify, demonstrate, explain, create, or evaluate.
Pro Tip: Break content into digestible chunks and aim for student-focused activities approximately every 20 minutes.
2. Direct Instruction (The "I Do" Phase)
This is where you deliver the core value and introduce new terms or methodologies.
- Keep it Tight: Limit this to 10 to 15 minutes to prevent cognitive overload.
- The Structure: Break your presentation down into 3 clear bullet points using visual tools, models, or screen-shares. If your material is highly technical, define your terms inline or highlight the most critical variables in prominent callout boxes.
3. Guided Practice (The "We Do" Phase)
Transition immediately into a collaborative exercise where students apply the new concept under your close supervision.
- The Workflow: Work through an example problem as a class, or divide students into pairs to tackle a structured task.
- The Goal: This is your primary diagnostic window. Scan the room or monitor live chat channels to spot common analytical errors or misunderstandings before they solidify into habits.
4. Independent Application (The "You Do" Phase)
Remove the training wheels. Students must now work individually to solve problems or analyze materials, proving they can execute the process autonomously.
- The Resource: Provide a clean worksheet, a code terminal, or a writing prompt that directly mirrors the metrics introduced during direct instruction.
- The Protocol: Ensure this phase is completely independent so your subsequent grading reflects true individual mastery rather than collaborative guesswork.
Pro Tip: Host digital materials on a learning management system for easy access, and consider storing physical resources in labeled folders or trays by lesson.
5. Closure & Quick Check (The Bottom Line)
Never let a lesson just fade out into a frantic packing-up rush when the bell rings. Use the final 3 to 5 minutes to cement the day’s takeaway.
- The Summary: Synthesize the core thesis of the lesson in a single, memorable sentence.
- The Assessment: Deploy an immediate "Exit Ticket"—a single-question quiz or a one-sentence reflection that students must hand in or submit digitally before they leave. This gives you immediate, unvarnished data to plan your next lesson outline.
- Mini whiteboards for quick responses
- Thumbs up/down/sideways checks
- Think-pair-share activities
- Exit tickets at the end
Build in methods to check understanding throughout the lesson:
Pro Tip: If you uncover misunderstandings about essential building blocks, stop and address them—your lesson plan should be a guide, not a straightjacket.
Common Mistakes to Avoid
Even experienced teachers fall into these traps:
- Overloading content — Distinguish "need to know" from "nice to know"
- Focusing too much on teacher activity — The lesson should center on student learning
- Forgetting transitions — Plan for smooth movement between activities
- Not aligning activities with objectives — Every activity should feed the learning goal
Final Thoughts
A lesson plan outline isn’t about perfection—it’s about preparation. Think of it as a living document that evolves with your teaching practice. After each lesson, jot down quick observations about what worked and what didn’t. Over time, these notes become invaluable resources that save you hours of planning and help you deliver increasingly effective lessons.
The Bottom Line: Great teaching is supported by great planning. Your expertise matters, but translating that knowledge into effective learning experiences takes a different set of skills. A well-structured lesson plan outline helps bridge that gap, ensuring your students learn, remember, and apply what you teach.